继续打开 github 看一下最初的版本的 babel 是怎么实现的,了解它的基本原理。
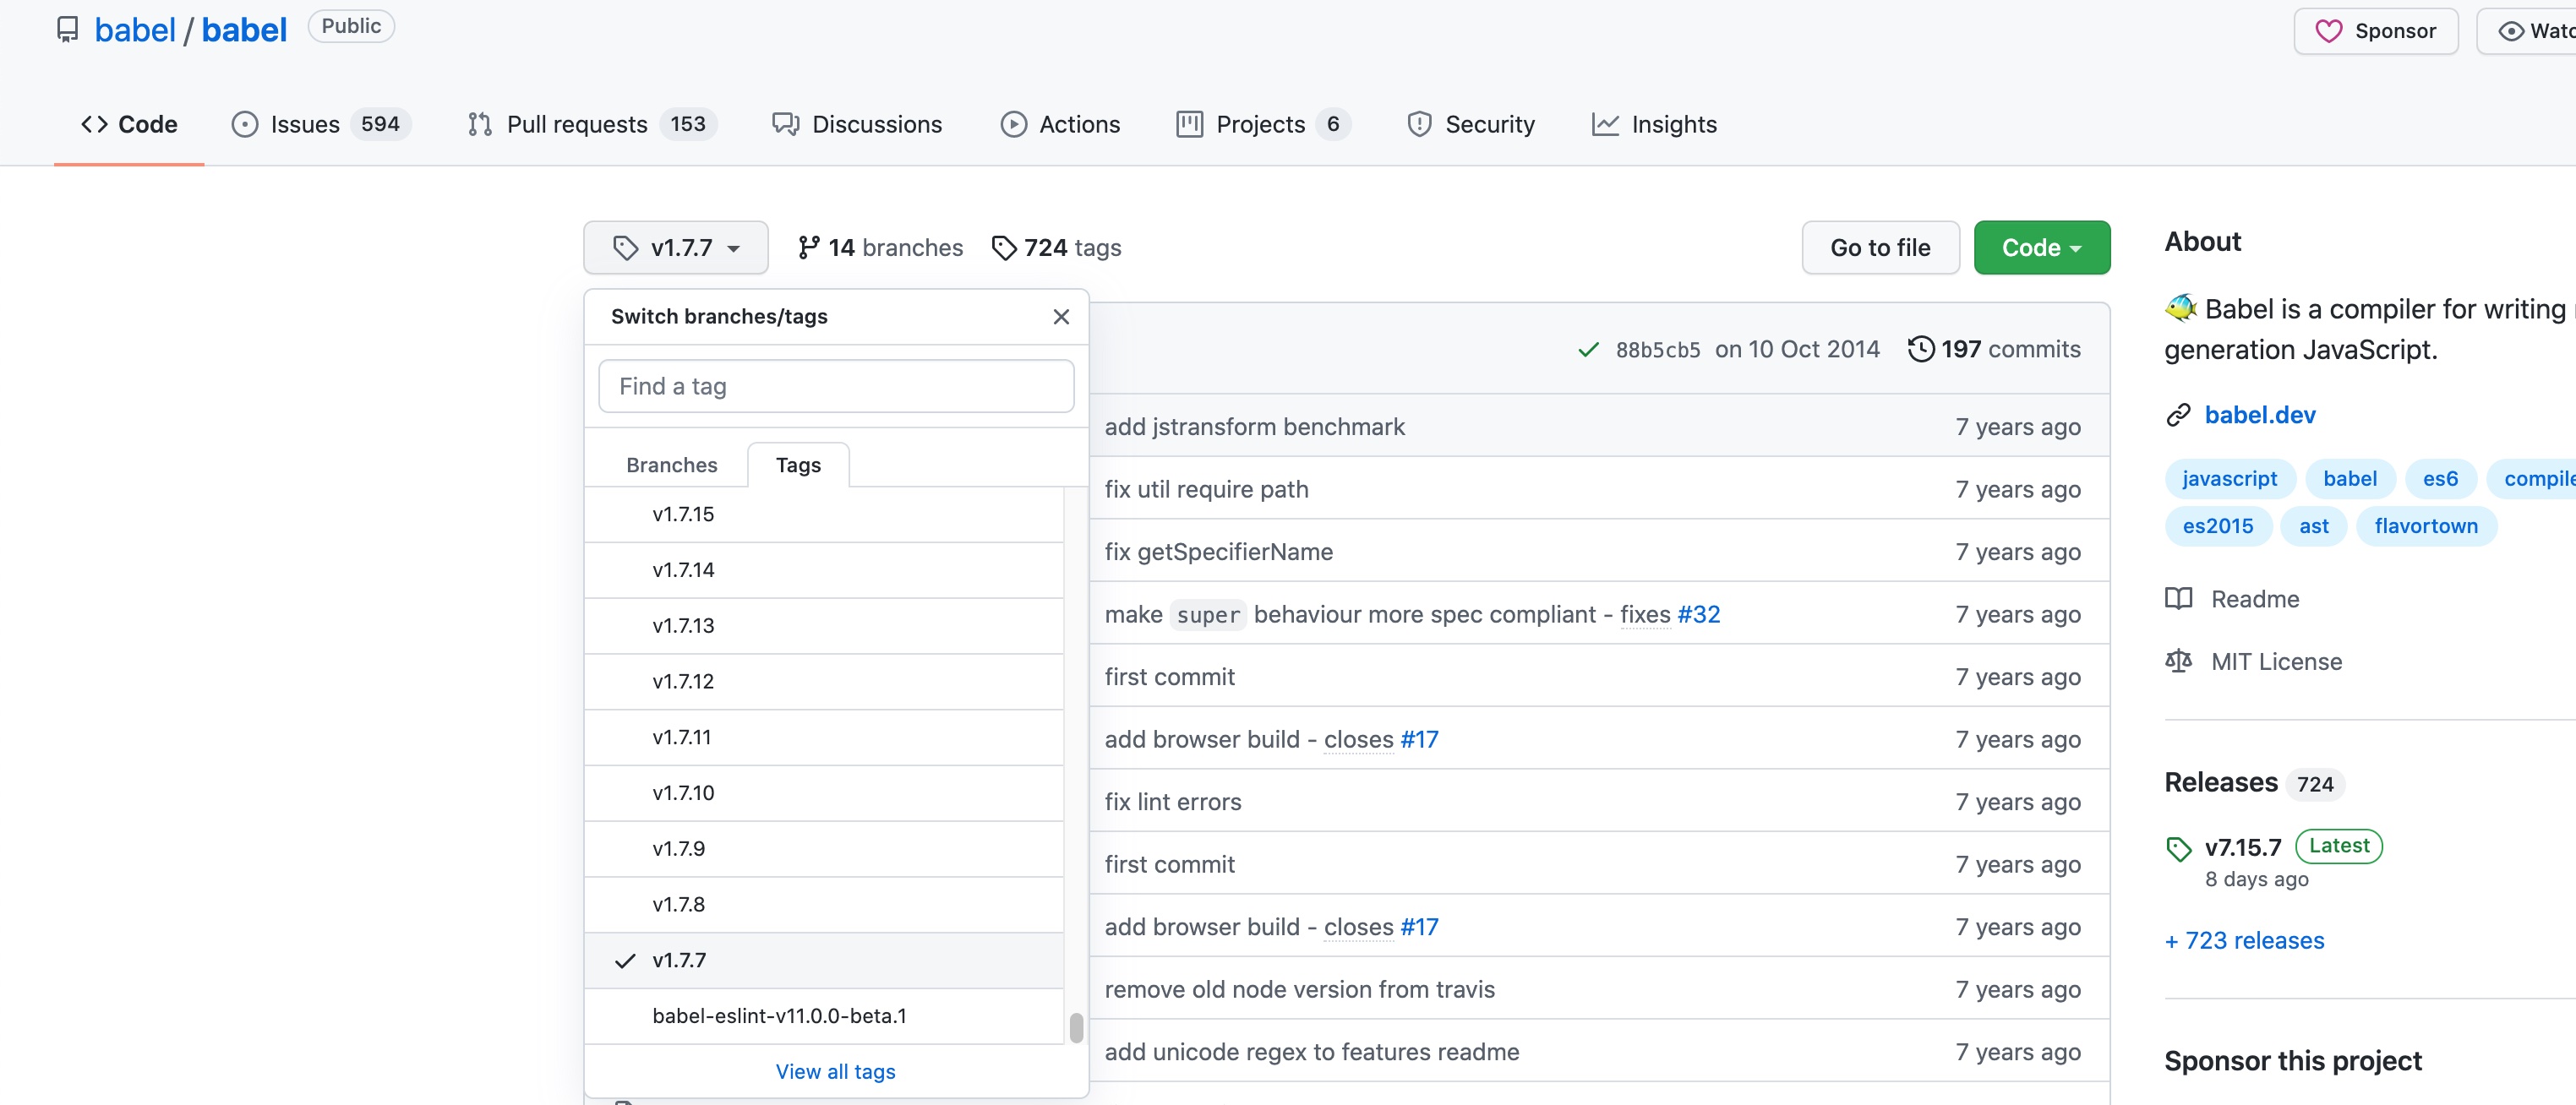
git clone git@github.com:babel/babel.git 并且 git checkout v1.7.7 ,npm i 安装一下相应的 node 包。其实还可以找到更早的 tag ,但由于之前的一些依赖包现在已经下载不下来了,程序跑不起来不好调试所以就没用了。
看一下 package.json。
1 | { |
当时的名字还叫 6to5 ,依赖的包很多,就不能像 eslint-v0.0.2做了什么 那样一个一个包讲了,这里只记录一下主流程依赖的一些包。
运行调试
我们可以写一个简单的 input.js 然后试一下。
1 | // input.js |
执行一下 ./bin/6to5 -h 看一下帮助。
1 | Usage: 6to5 [options] <files ...> |
-o 是指定输出的文件,测试一下,./bin/6to5 -o output.js input.js 。然后就得到了 output.js。
1 | //output.js |
帮我们把 const 换成了 var,同时通过自执行函数包了一层作用域。
在 Vscode 新建一个 launch.json ,选择 Node.js 。
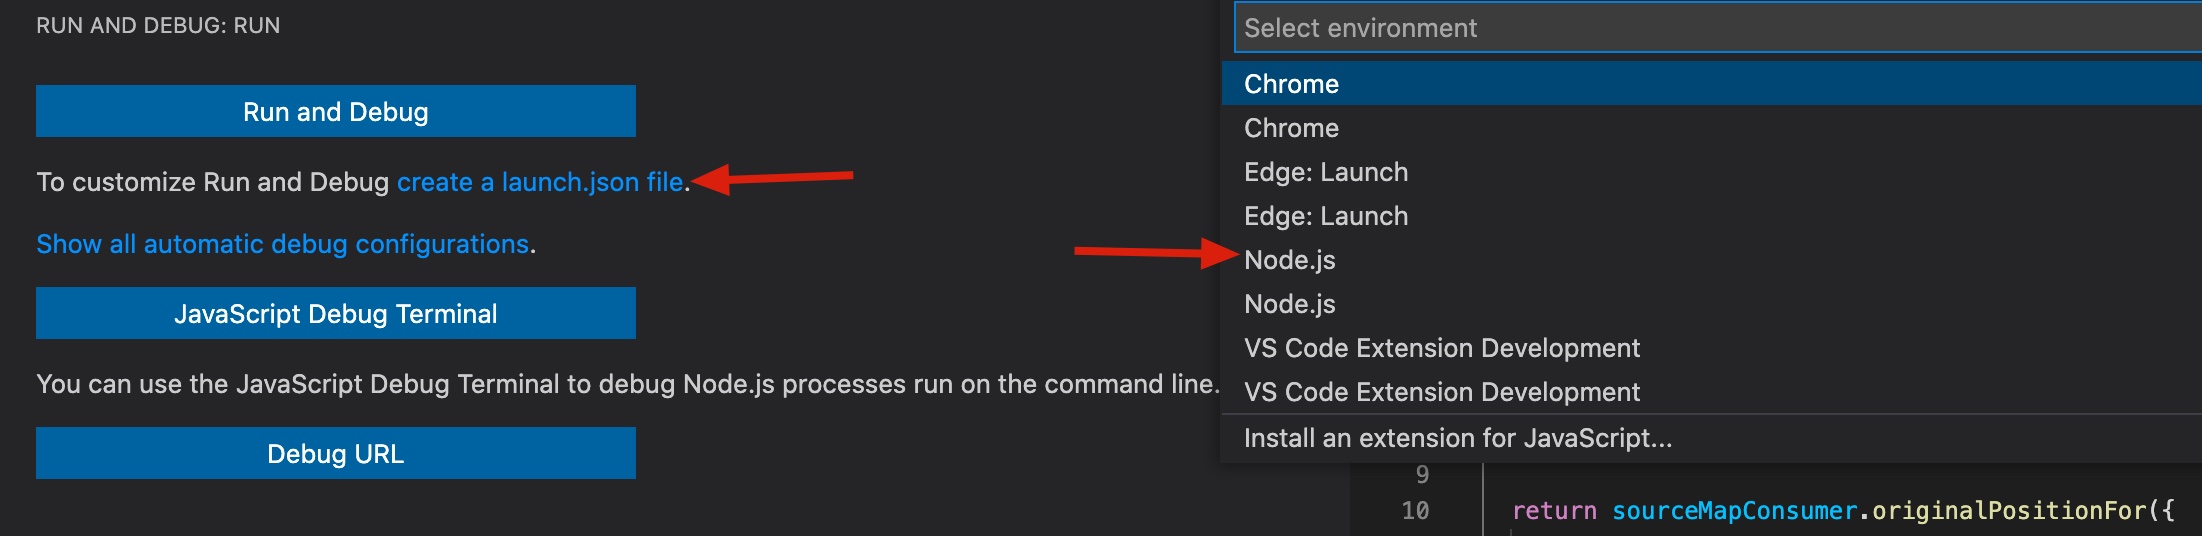
把默认生成的 program 字段去掉,加上 args 。
1 | { |
添加相应的断点,然后 F5 就可以愉快的调试了。
命令行框架用的是 commander ,github 有超详细的使用方法,这里就不再说了,下边介绍 babel 相关的主要原理。
主要原理
通过不断的运行调试,渐渐了解了主流程,但直到看到尤大推荐的这个 mini 编译器才对整个框架有了更深的了解。
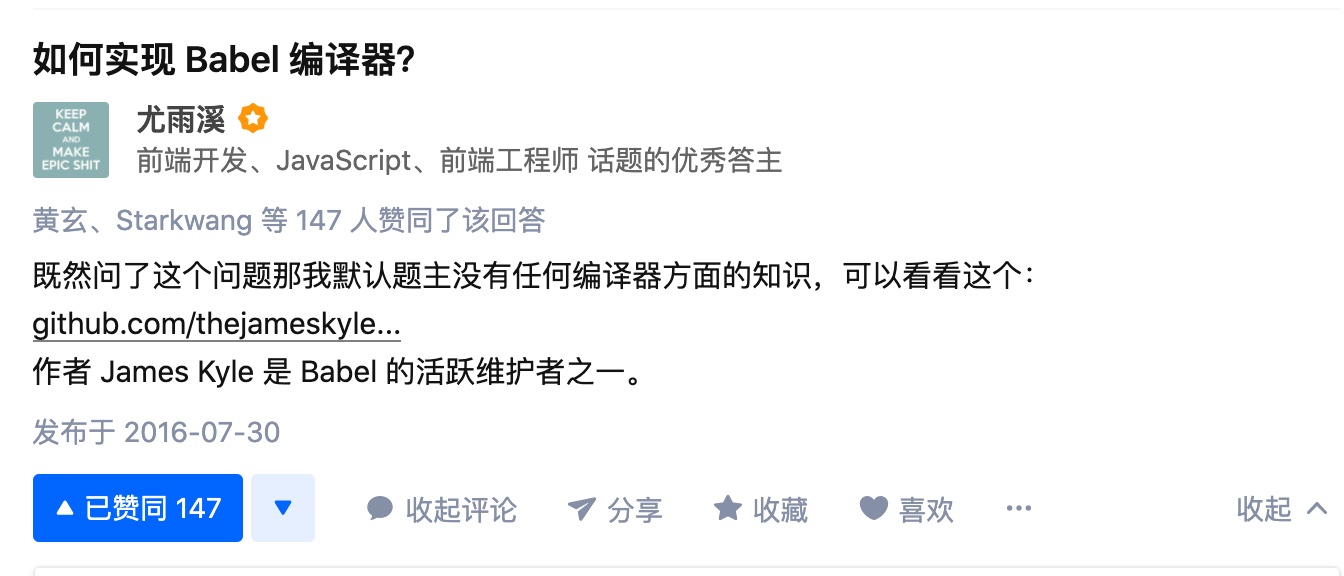
强烈推荐先过去 看一下,对 babel 可以有一个更直接的了解。
babel 本质上还是对 AST 的操控,可以认为是一个编译器了,只不过是 js 到 js 的转换。
一个编译器主要是三个步骤,解析(词法分析、语法分析)-> 转换 -> 生成目标代码。
第一步「解析」就是去生成一个 AST,主要分两步。
词法分析,分词
1
2
3
4
5
6
7对于 const data = "test"; 经过分词就是下边的结果
[
{ type: 'Keyword', value: 'const' },
{ type: 'Identifier', value: 'data' },
{ type: 'Punctuator', value: '=' },
{ type: 'String', value: '"test"' }
]语法分析,生成抽象语法树
(AST)1
2
3
4
5
6
7
8
9
10
11
12
13
14
15
16
17
18
19
20
21
22
23
24通过上边分词,然后就可以生成一个 AST 树
{
"type": "Program",
"body": [
{
    "type": "VariableDeclaration",
    "declarations": [
      {
        "type": "VariableDeclarator",
        "id": {
          "type": "Identifier",
          "name": "data"
        },
        "init": {
          "type": "Literal",
          "value": "test",
          "raw": "\"test\""
        }
      }
    ],
    "kind": "const"
}
]
}
第二步「转换」就是基于上边的 AST 再进行增删改,或者基于它生成一个新的 AST。
第三步「生成目标代码」就是基于新的 AST 来构建新的代码即可。
对于 Babel 的话,第一步是直接使用了 recast 包的 parse 方法,传入源码可以直接帮我们返回一个 AST 树。
第三步也可以直接使用 recast 包的 print 方法,传入 AST 树返回源码。
所以 babel 的核心就在于第二步,通过遍历旧的 AST 树来生成一个新的 AST 树。
遍历
核心方法就是 lib/6to5/traverse/index.js 中的 traverse 方法了,比较典型的深度优先遍历,遍历过程中根据传入的 callbacks 来更改 node 节点。
1 | var traverse = module.exports = function (parent, callbacks, blacklistTypes) { |
VISITOR_KEYS 其实就是枚举了所有的要处理的 node 节点的 key 值。
比如上边举的 const data = "test"; 的例子,它对应的 node 节点就是:
1 | { |
我们所要遍历的就是「包含 type 的对象」,比如上边的
1 | { |
所以对于 VariableDeclaration 节点,它可以枚举的 key 就是 ['declarations'],它包含了 VariableDeclarator 节点。
同理,对于 VariableDeclarator 节点,它可以枚举的 key 就是 ['id', 'init']。
VISITOR_KEYS 就是一个大对象,key 就是 node 节点的 type,value 就是可以通过枚举得到 node 节点的所有 key 。
1 | { |
遍历过程中对于每个 node 节点都会执行 handle 函数,callback 是传入的回调函数,包含 enter 方法和 exit 方法。
1 | { |
用 enter 返回的节点替换当前节点,所有子节点遍历完成后再调用 exit 方法。
1 | var handle = function (obj, key) { |
回调函数和模版
babel 定义了不同 transform 来作为回调函数,返回处理后的 node 节点。
1 | transformers |
可以看一下 block-binding 的实现,主要作用就是在定义 var 变量的地方包一层自执行函数,也就是文章最开头写的测试例子。
1 | //output.js |
block-binding.js 中的核心方法是 buildNode 。
1 | var buildNode = function (node) { |
其中 b 是 var b = require("ast-types").builders; ,可以得到各种类型的 ast 节点。util.template 方法可以通过预先写的一些模版,将模版的某一块用传入的节点替换。
模版的话都写在了 templates 文件夹下。
1 | templates |
看一下上边用到的 function-call 模版,function-call.js 文件里仅有一行,一个函数调用。
1 | FUNCTION(); |
babel 预先会把上边 template 文件夹里的所有文件全部转成 ast 的语法树。
遍历 templates 下的所有文件。
1 | // lib/6to5/util.js |
而上边使用的 exports.parse 就是调用了 recast 库的 parse 来返回 ast 树。
1 | exports.parse = function (filename, code, callback) { |
再回到上边 block-binding.js 中 util.template 方法来。
其中
b是var b = require("ast-types").builders;,可以得到各种类型的ast节点。util.template方法可以通过预先写的一些模版,将模版的某一块用传入的节点替换。
1 | // nodes 传入我们需要替换的模版中的节点 |
总结
babel 编译器主要是三个步骤,解析(词法分析、语法分析)-> 转换 -> 生成目标代码,主要逻辑是第二步转换。
转换主要就是通过提前写好各种类型的 transform ,利用 traverse 方法遍历 AST 的所有 node 节点,遍历过程操作旧 node 节点来生成新的 node 节点(可以通过 recast 库辅助),再替换之前写好的模版的某一部分从而生成一个新的 AST。
我感觉最复杂最细节的地方就是一个个的 transform 的编写了,需要对 AST 了解得非常清楚。
感觉文字不太好表述,大家可以按照最开始介绍的方法打断点然后结合上边的文字应该会更容易理解。
前端工程化其他系列文章大家感兴趣也可以看一下: