准备了解一下 eslint 的原理,就先看一下最早一版 eslint 的实现吧。github 打了 tag 的最早的版本就是 0.0.2 了,提交记录是八年前了。
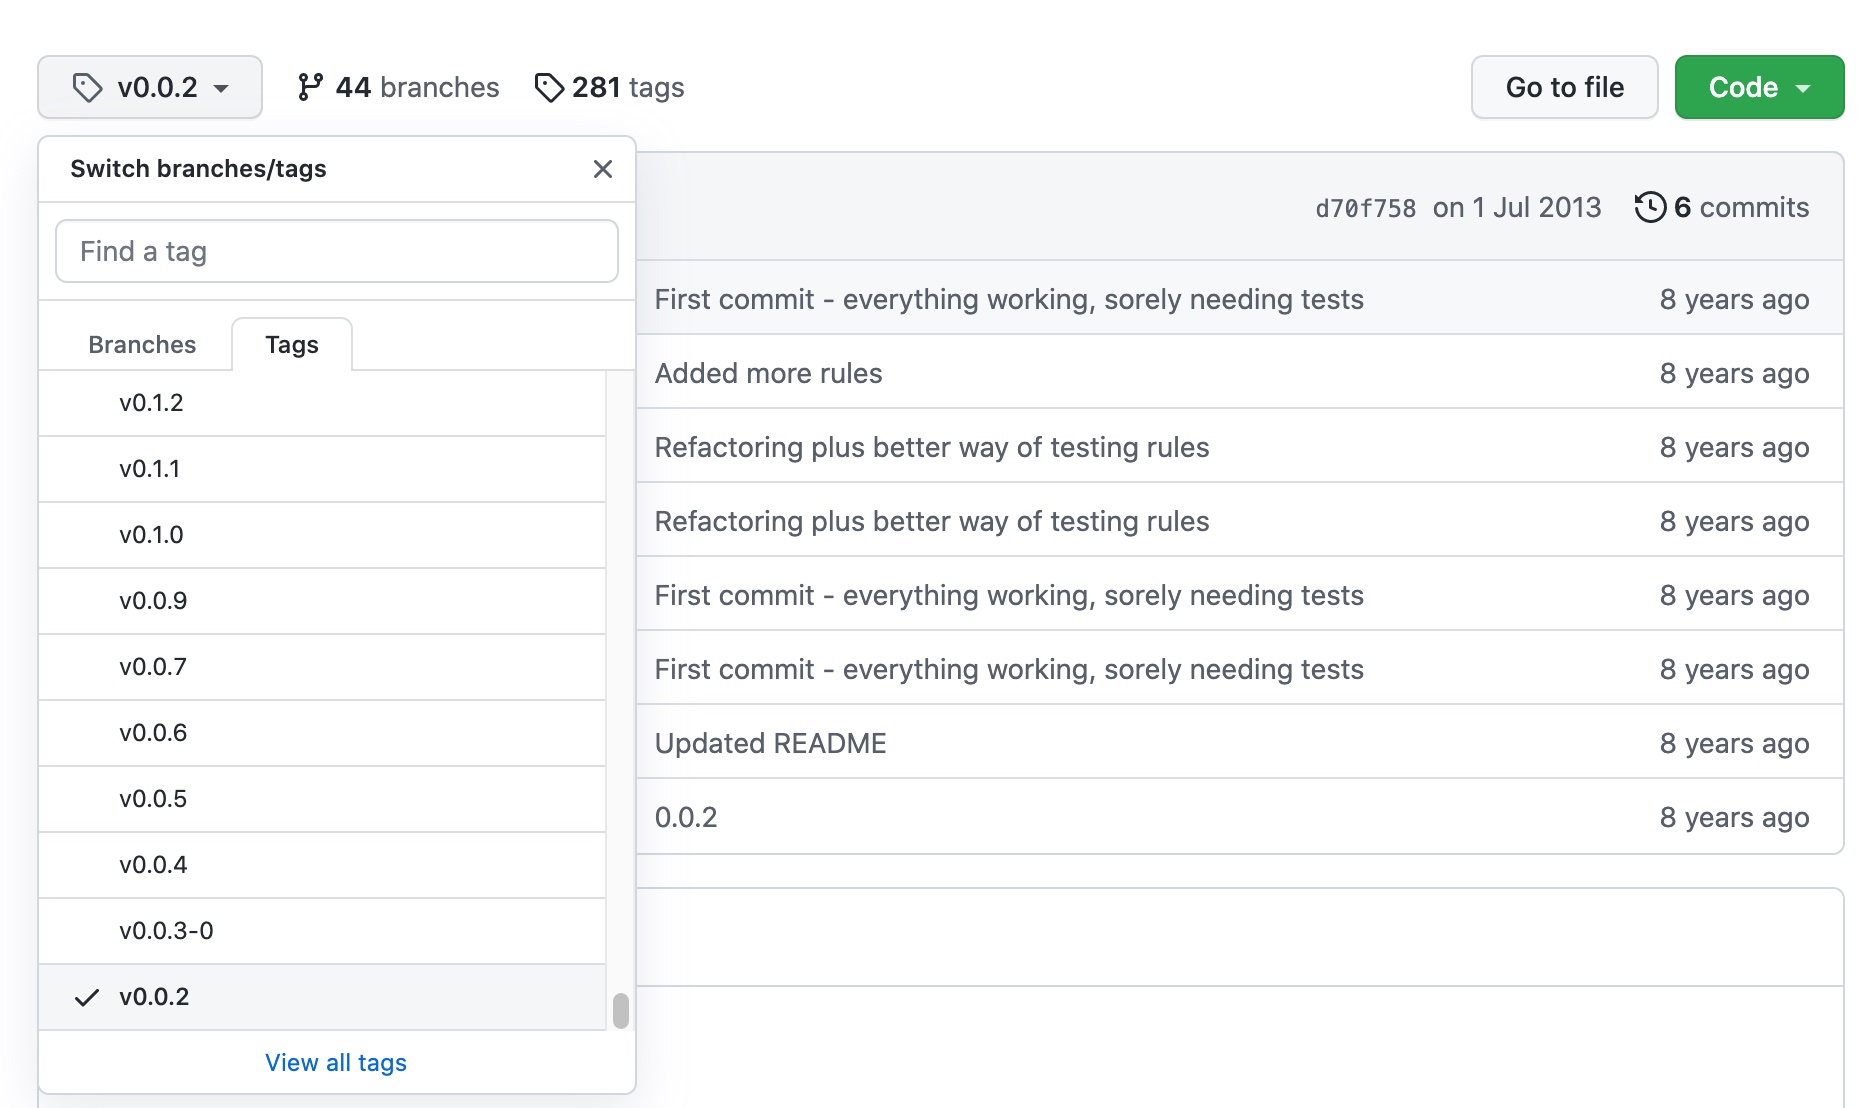
git clone git@github.com:eslint/eslint.git 并且 git checkout v0.0.2 ,先看一下 package.json 。
1 | { |
主要涉及到 optimist 、astw、esprima ,我们来依次了解一下。
optimist
主要作用就是帮我们解析命令行参数,我们来试验一下。
在根目录新建一个 cli.js ,并且赋予执行权限,执行 chmod +x ./cli.js ,输入下边的内容:
1 |
|
#!/usr/bin/env node 指明使用 node 执行当前脚本,就可以直接使用 ./cli.js 执行命令,而不需要使用 node ./cli.js 执行。
process 是 node 为我们提供的一个全局变量,可以拿到命令行参数 argv。
然后执行 ./cli.js -w --hello 23 --no-ugly --name=test ./fils.js ./file2.js,控制台会输出如下:
1 | argv 收到的参数 |
可以看到 argv[0] 是 node 的路径,argv[1] 是要执行脚本的路径,从 argv[2] 开始是我们要的参数,所以代码里我们执行了 argv.slice(2)。
通过 optimist 解析,我们就可以得到相应的 key 、value 键值对了。
esprima
可以做词法分析或者生成 AST 的语法树,直接看示例。
1 |
|
看一下输出:
1 | 词法分析 |
此外,解析 Ast 语法树的时候为我们提供了 range 参数和 loc 参数,esprima.parseScript(program, { loc: true, range: true }),输出节点的时候可以帮我们输出源代码的位置,类似于下边的样子。
1 | "type": "VariableDeclarator", |
astw
ast walk,输入源代码或者 AST 对象,然后调用 walk 方法传入回调,会帮我们依次遍历 ast 的节点,同样看个例子就明白了。
为了更好的看出输出的结果,我们引入 escodegen 库,可以将遍历的 ast 节点还原为源代码。
1 |
|
看一下结果:
1 | { |
可以看到 walk 方法会帮助我们从内到外的遍历 AST 的节点,通过回调将当前节点返回。
原理
知道了 AST 树,我们其实就可以实现最简单的 Eslint 检查了,比如最常见的是否使用了 ===。
举个例子,对于 answer == 42; 我们在 walk 过程中会得到这样一个节点。
1 | Node { |
根据这个 ast 的节点,首先判断 type 是不是 BinaryExpression,然后再判断 operator 是否是 == 和 != 就可以了。
1 | if(node.type === 'BinaryExpression'){ |
对于单一的规则很好实现,但把多个规则整合起来,并且便于用户扩展就是个学问了,这里学习一下 eslint 是怎么整合的。
EventEmitter 库
一个 Ast 节点对应一个要处理的规则,每遍历一个节点,就去处理相应的规则。这里使用了订阅/发布的设计模式,node.js 提供了 events.EventEmitter 库供我们使用。
我们只需要遍历所有规则列表,然后调用 on 方法,订阅相关事件,事件名就是 node.type,比如上边介绍的 BinaryExpression。
1 | var EventEmitter = require("events").EventEmitter; |
然后在调用 astw 库的 walk 方法的时候 emit 一下 node.type 事件名即可。
1 | var ast = esprima.parse(text, { loc: true, range: true }), |
源码分析
先看一下代码目录:
1 | eslint |
看一下 lib/cli.js 的主逻辑:
1 | execute: function (argv, callback) { |
其中 readConfig 就是读取了配置文件,为用户提供了 c/config 参数。
1 | function readConfig(options) { |
默认的 DEFAULT_CONFIG 路径是 ../config/jscheck.json ,内容如下:
1 | { |
processFiles(files, config) 主要就是两层循环,循环要检查的文件和上边的配置。
1 | function processFiles(files, config) { |
看一下 processFile 函数。
1 | function processFile(filename, config) { |
verify 就是核心逻辑了,调用了 on 事件和 emit 事件。
1 | api.verify = function (text, config) { |
其中 ruleCreator 就是某个规则对应的内容比如下边的 curly.js 文件。
其中,上边的 new RuleContext(key, api) 就是生成了下边的 context,提过了 report 等其他方法。
这样用户自定义 rule 的时候,通过 context 就可以调用 eslint 暴露出来的方法。
1 | module.exports = function (context) { |
总
上边就是 eslint v0.0.2 的全部代码了,更细节的内容可以在本地 git clone git@github.com:eslint/eslint.git 并且 git checkout v0.0.2 看。
核心原理就是通过 AST 语法树来进行相应的检查,然后通过 EventEmitter 进行组织调用,使用 RuleContext 将一些方法暴露出来供 rule 使用。
未来会继续总结前端相关的文章,感谢关注支持: